Guida alla configurazione del portale B2B JobTV
Guida alla configurazione del prodotto
Step 1 – Access
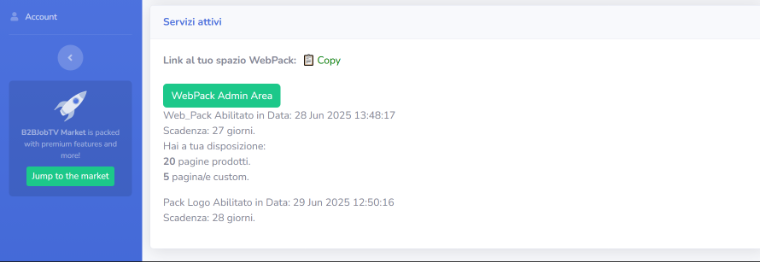
Log in to your personal WebPack Admin area. From here, you can configure the portal in just a few steps: the interface consists of simple modules that allow you to quickly modify the name, navigation, categories, and other essential settings.
Step 2 – Start
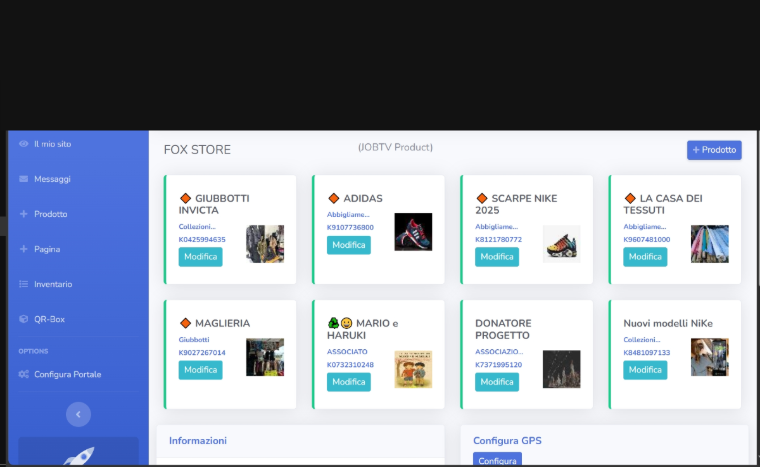
1. Access the menu
Open the administration panel and click on "Configure Portal".
Step 3 – Edit and Save
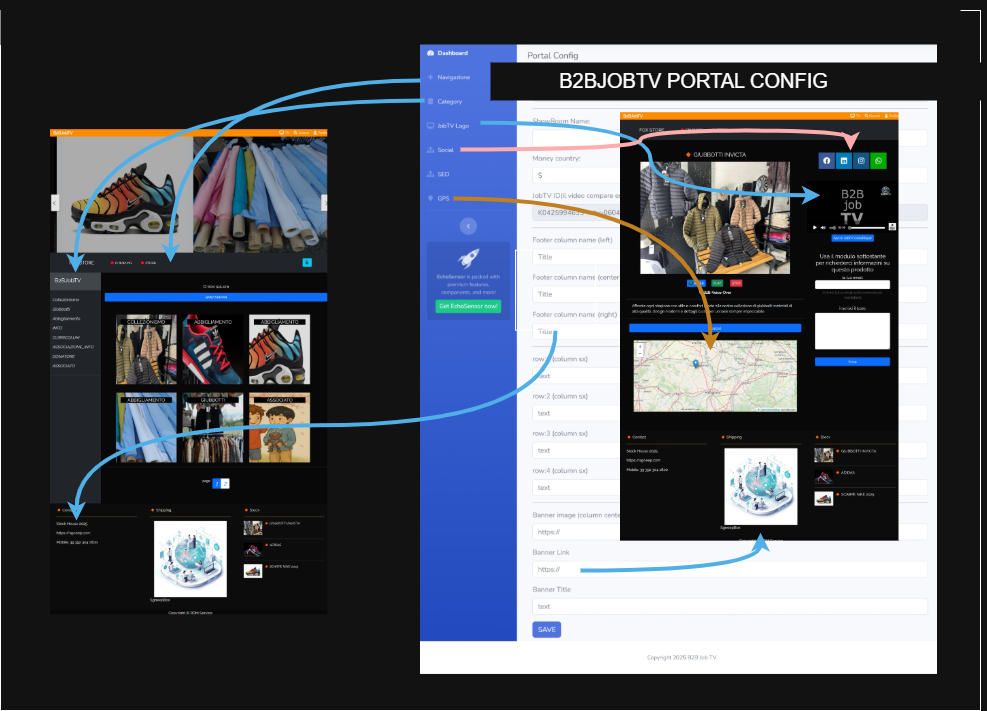
2. Edit the portal name
Find the “Portal Name” field..
Enter the new name you want to display.
Save the changes.
3. Manage navigation buttons
Go to the “Navigation” section.
Add, remove, or reorder buttons according to your needs.
You can also change the texts or link them to specific pages.
4. Organize categories
Select “Categories”.
Add new categories or edit existing ones.
Each category can be assigned to specific portal contents.
5. Customize the footer
Enter the “Footer” section.
Insert custom texts (e.g., contacts, copyright, links).
You can also add social icons and WhatsApp.
6. Configure SEO
Go to “SEO Settings”.
Fill out the form with keywords to improve ranking on the B2BJobTV search engine.
7. Set geolocation
In the “Geoposition” section, set the portal location (useful for local services or geolocated content).
Enter coordinates or choose on the interactive map.
8. Configure the TV logo
The logo displayed within the KioskWall pages and all sections including the videoPlayer corresponds to the one currently configured in the portal.
Save to apply.