Article Setup Guide
This guide will help you correctly set up an article within the portal. It is designed for those new to the system.
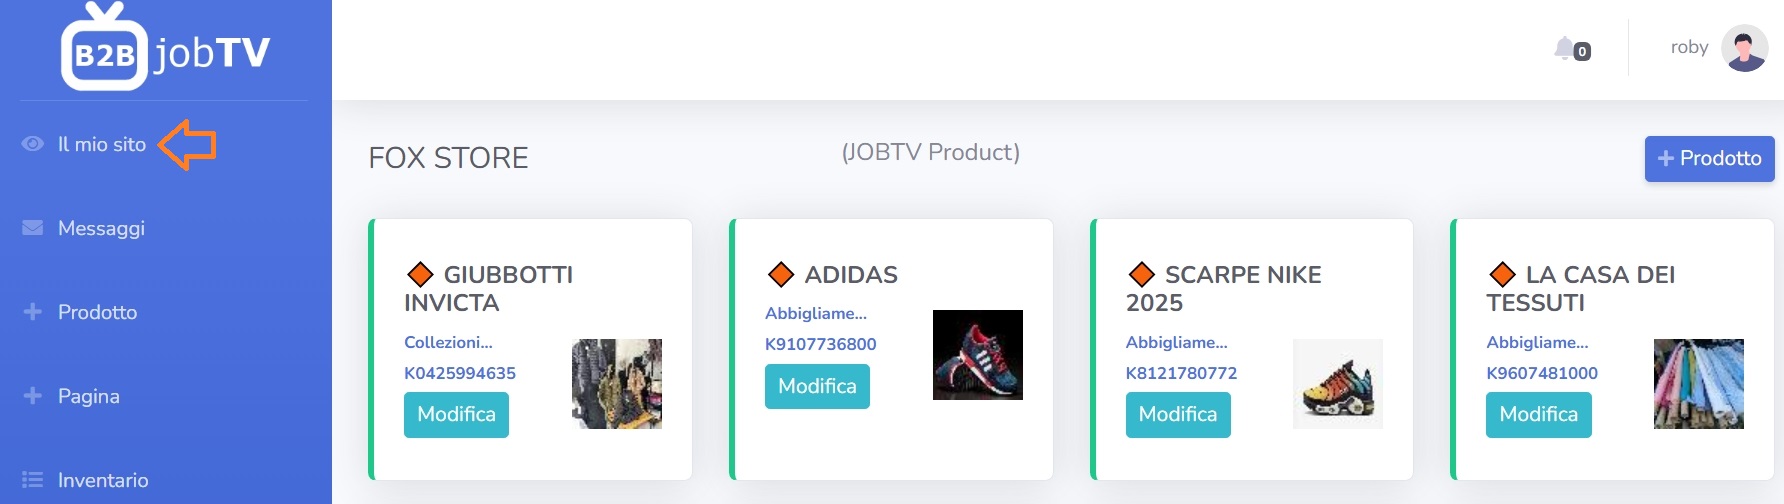
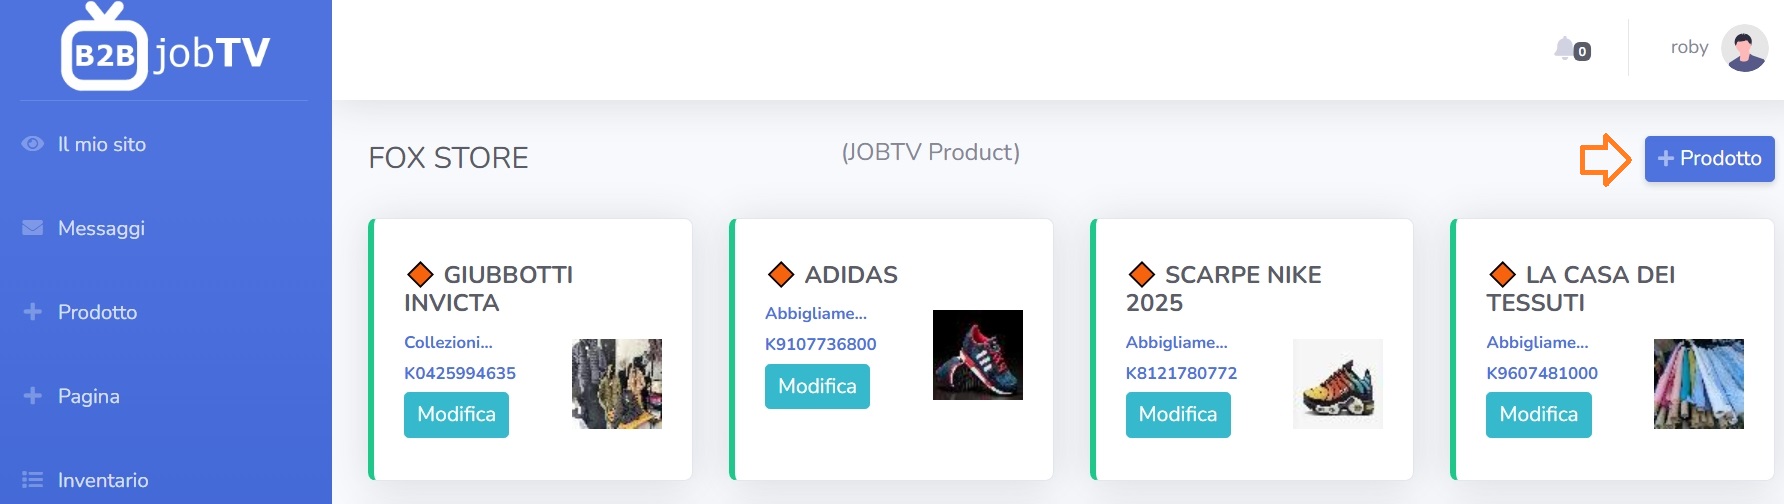
1. Access to the Dashboard
After logging in, you are directed to the main dashboard. Here you will find the list of articles already created and a button to add a new one.
To start, click on the “+ Product” button.
2. Configuration Screen
You will enter the article configuration page, composed of several fields that allow you to customize the content.
Article Title
Enter a meaningful name that clearly describes what the article offers. Example: "Basic guitar course in 5 lessons".
Main Image
You can upload an image. This will be the content displayed to the user in the article card.
The portal accepts jpg and png image formats. Ensure they are of good quality and well represent the content.
Additional Videos and Images
You can upload an image. This will be the content displayed to the user in the article card.
The portal accepts jpg and png image formats. Ensure they are of good quality and well represent the content.
Description
Write a detailed and clear description. Explain what the article offers, who it is aimed at, and what is gained after purchase. If you enable the podcast feature, you can listen to the audio with the integrated Text to Speech (TTS) on your device.
Category
Choose the most suitable category for your content (e.g., tutorial, course, service, consultancy). This helps the end user find it easily.
Price
Enter the desired price. The system accepts numeric values. If you do not want to display the price on the web page, you can set the value to 0.
3. Behavior Options
Some fields allow you to define the behavior of the article once published:
- Active: if selected, the article will be immediately visible online
4. Saving and Publishing
After completing all fields, you can:
- Publish: the article will be immediately available on the portal
Use the "Save and Publish" button to save all changes. You can always come back later to modify it.
5. Article Review
Once published, you can view the web page to check that the title, video, and description are correct. Also verify that the layout is consistent.
Tip: try to view the content both on desktop and smartphone to ensure it is readable and well formatted on all devices.